New Demo Home Cinema Room Week 8
Painting The Room
It’s week 8 of working on our home cinema demo room build and it’s been busy.
We start off continuing with painting.
After the base coat, the thousands of screw holes are filled with plaster, and knocked/sanded back to flush. We’ve used so many screws because it stops (or minimises) squeeks and rattles that could come through if we’d used nails. Nails work loose over time and the screws help pull and grip the wood tight together.
We’ve used a Matt slate grey for the cinema and Bulkhead and a Matt chalk white Colour for the office.
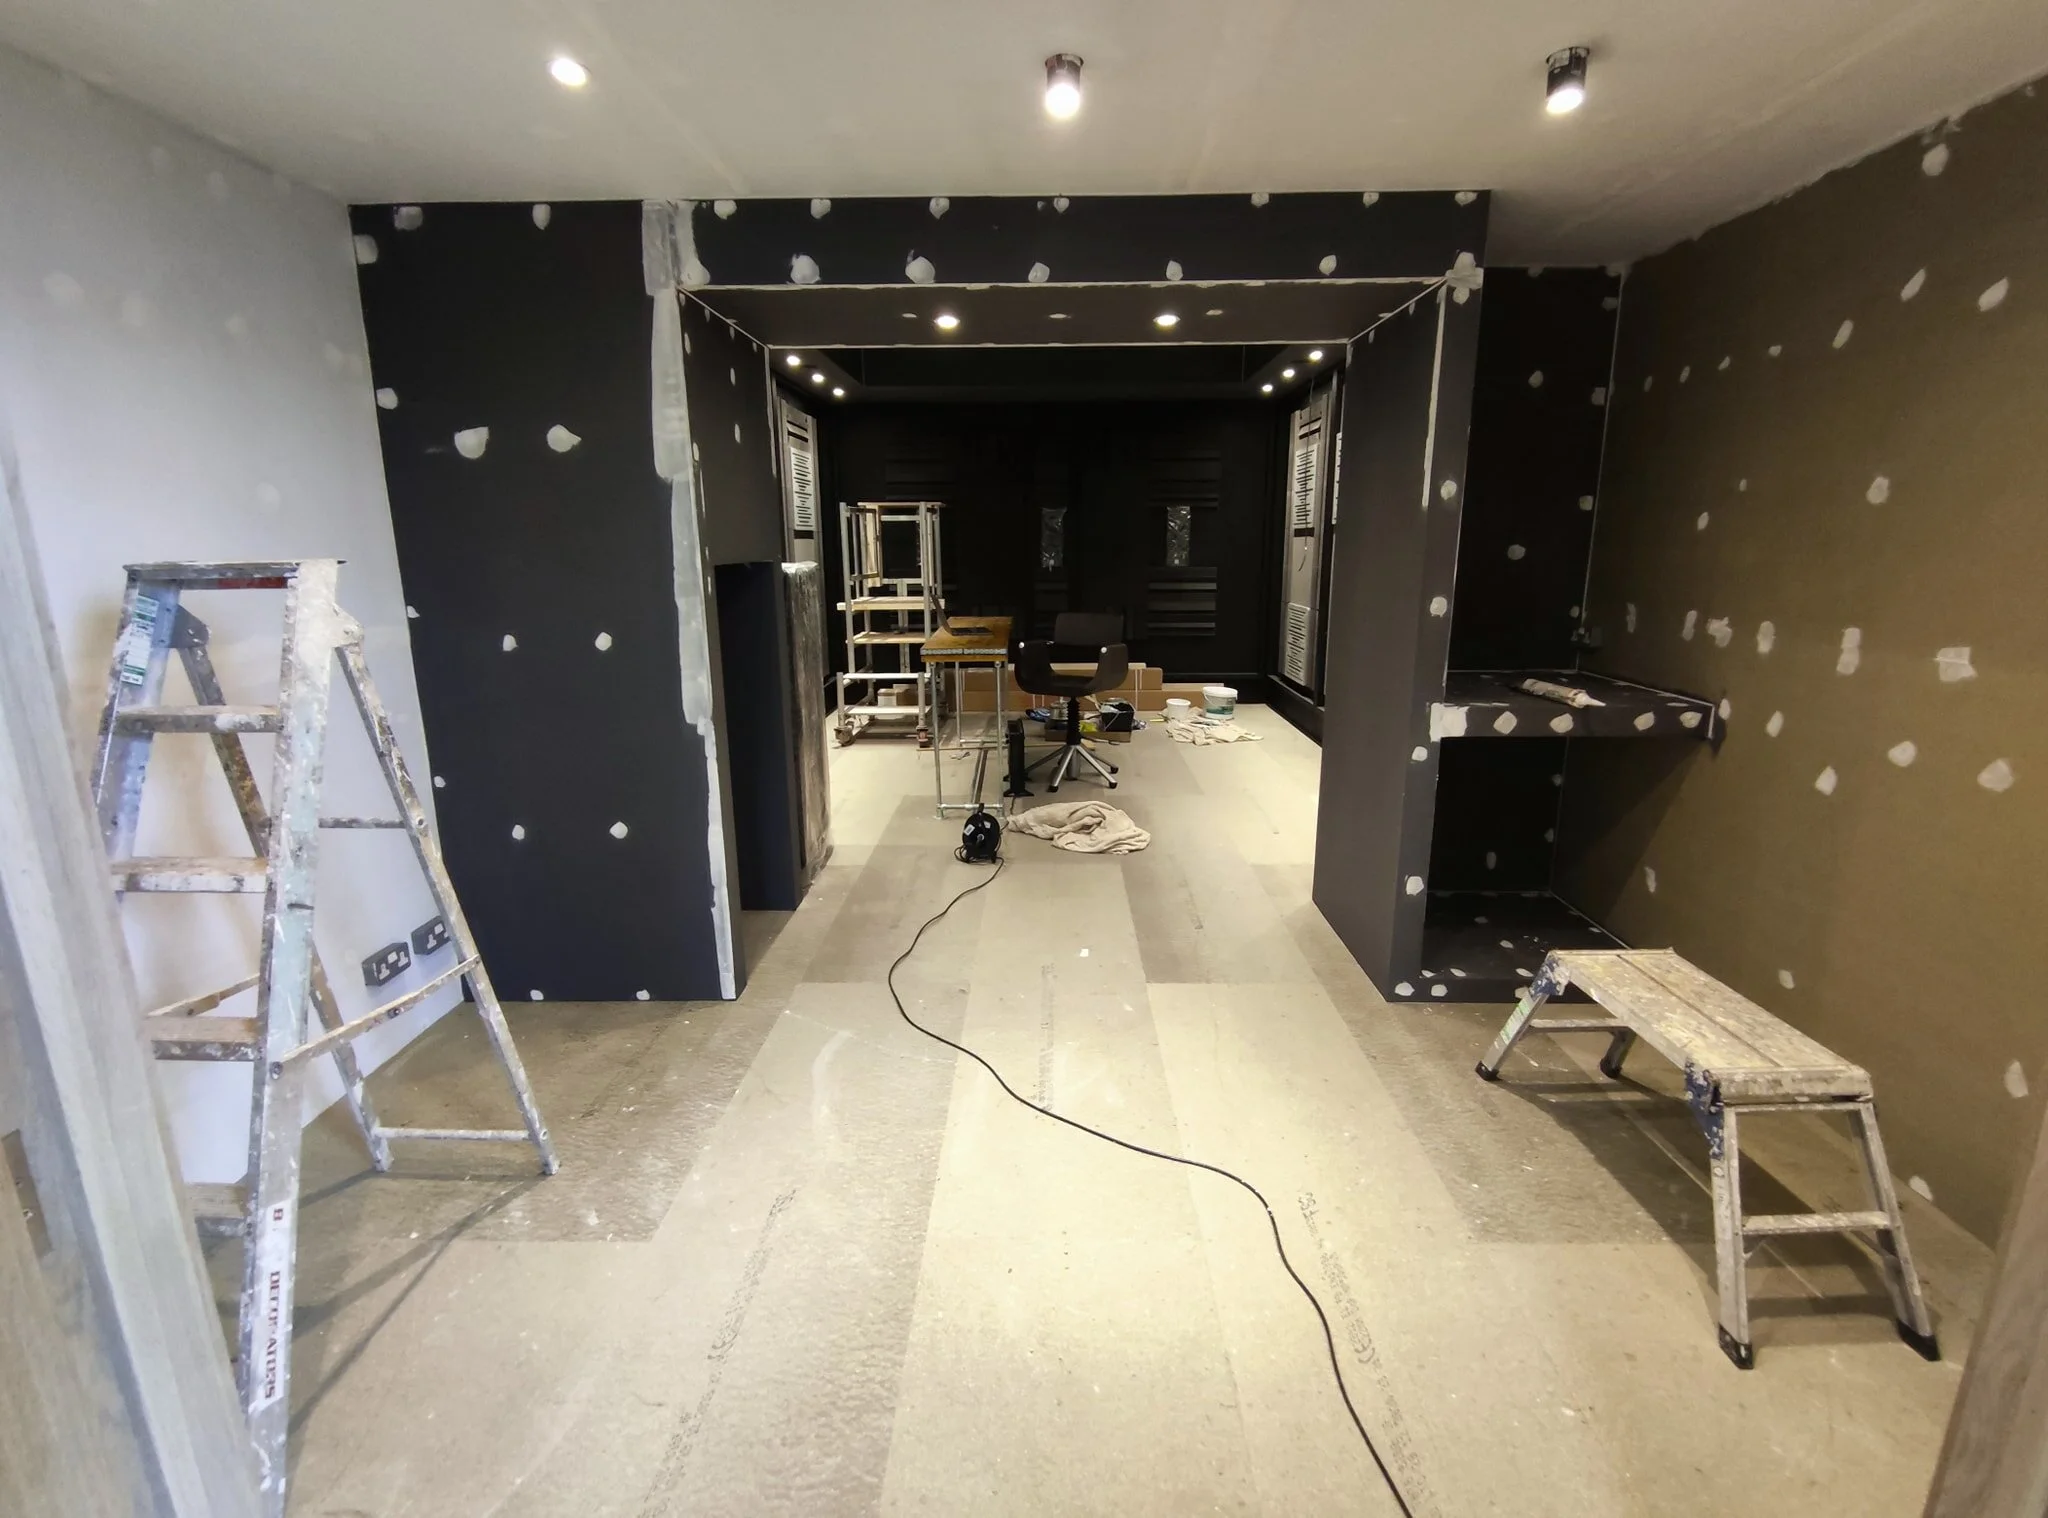


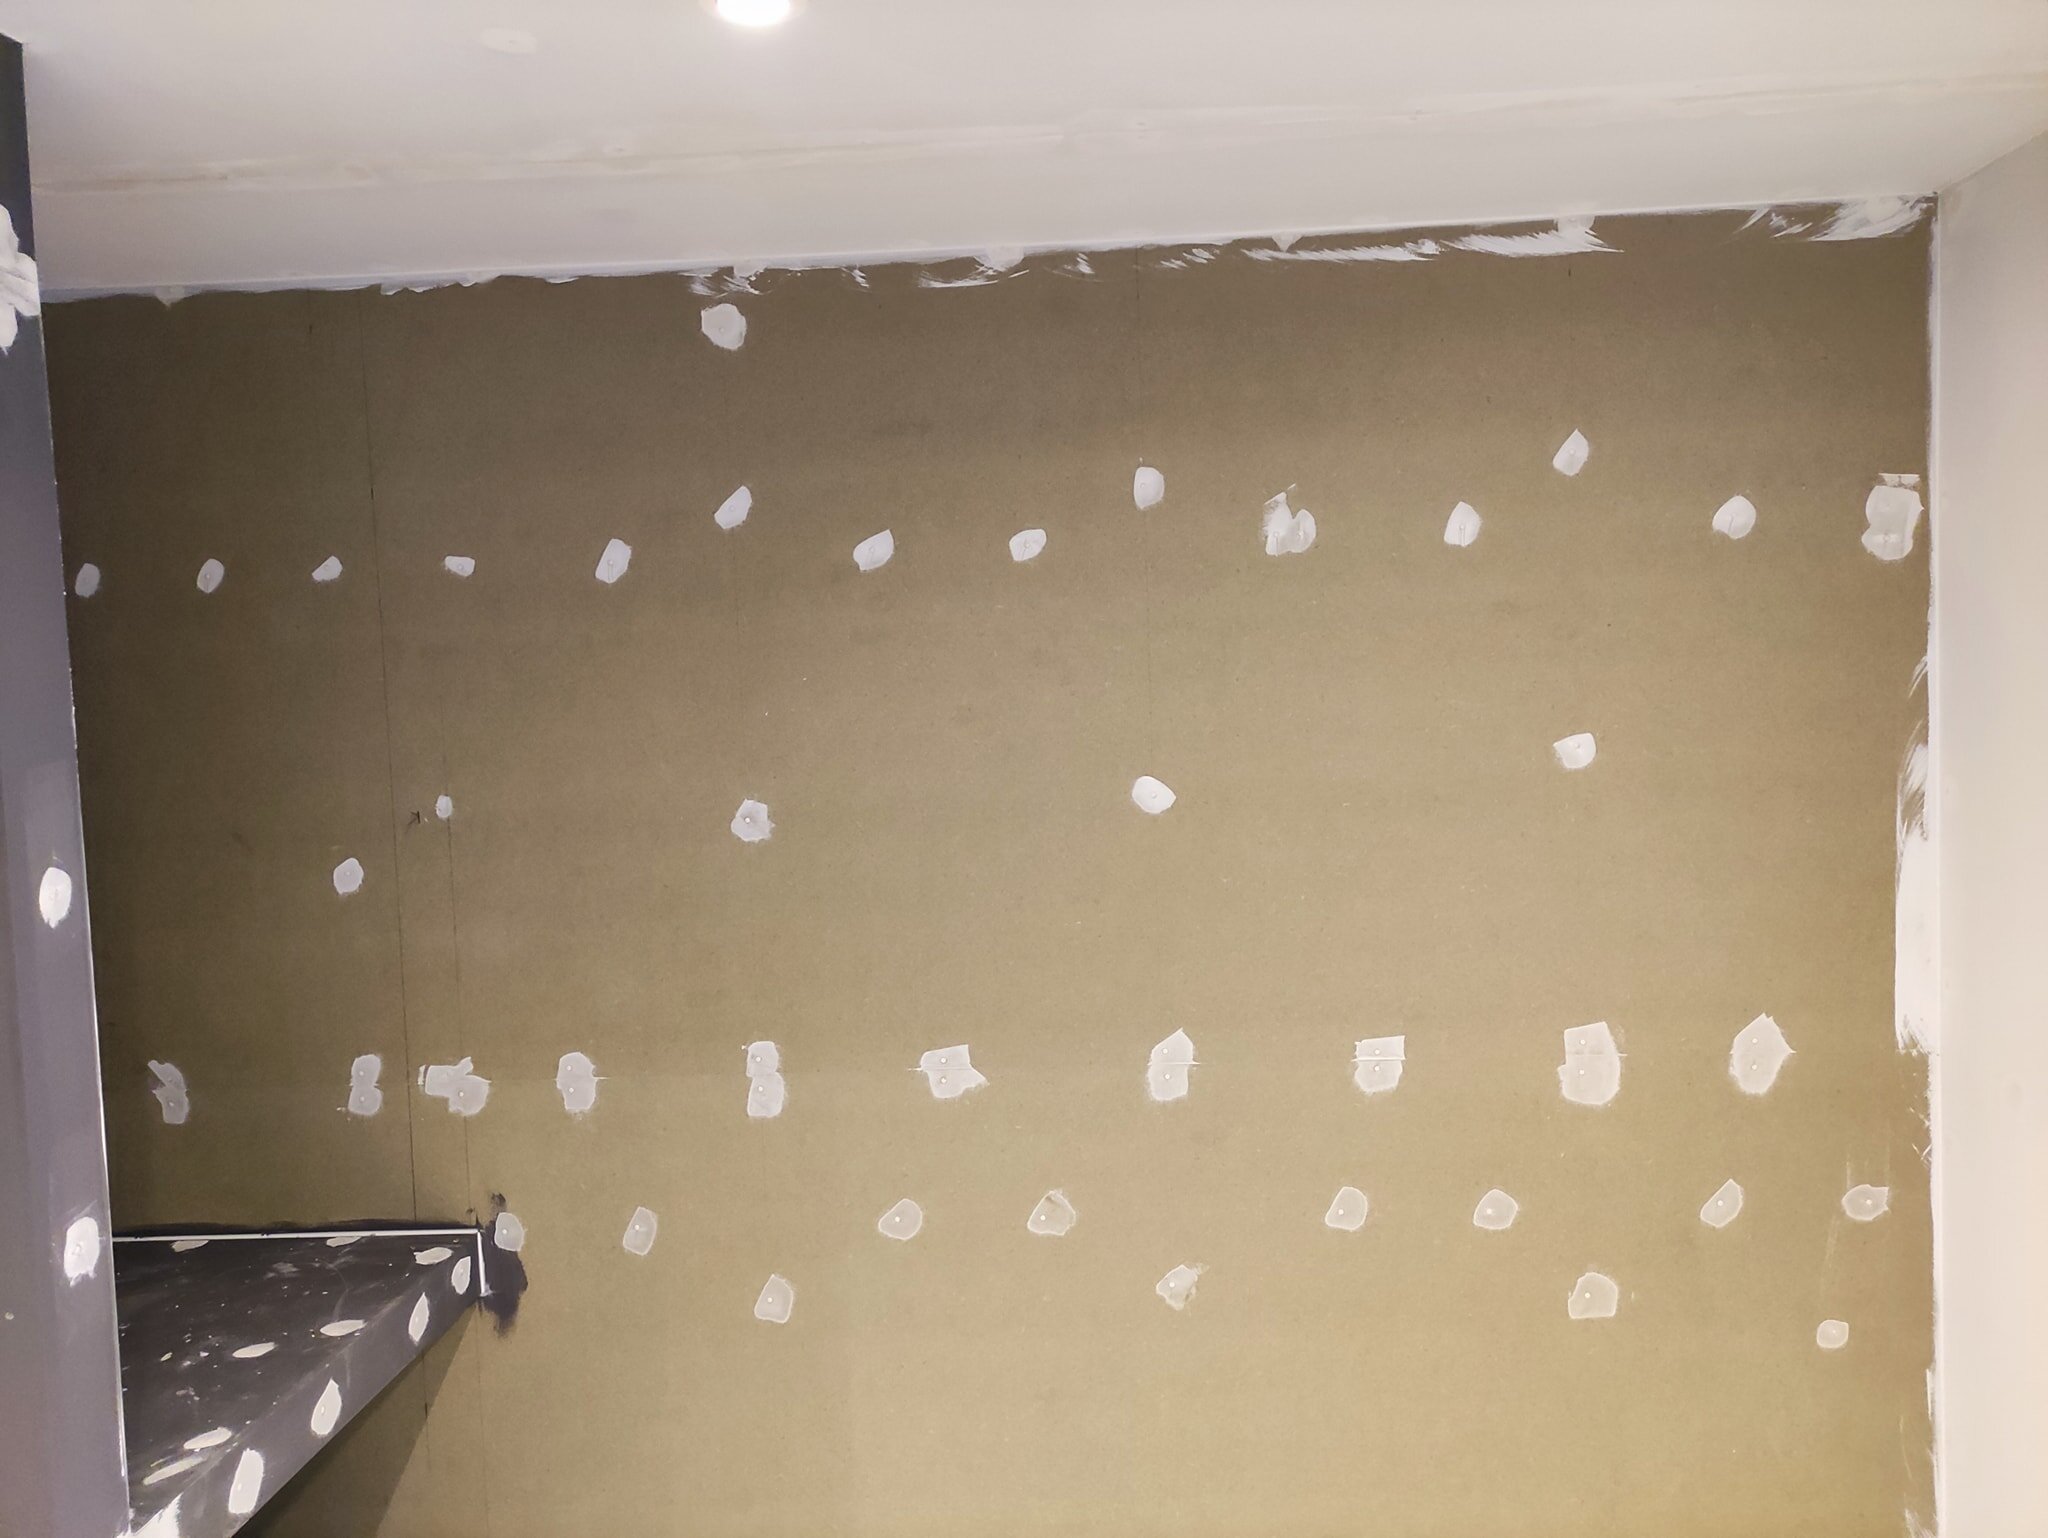
Dusty Work
Sanding the screw holes and the corner edges of the MDF allow us to get a smooth finish. It’s dusty work.
We use a very flat matt paint (in this case Slate Grey RAL 7015) so as to minimise reflections from the screen or lights. Anything that can take your attention away from the screen can detract from the immersive experience.


Painting Finished
The painting is finally finished.
We ordered up some custom spray to spray our in-ceiling Atmos speakers the exact same colour as the walls and bulkhead. You will still see the in-ceiling speakers but this helps them blend in much more seamlessly.
The other options would have been to leave them white (good for a white ceiling) or spray them black, neither would work well in our home cinema design.


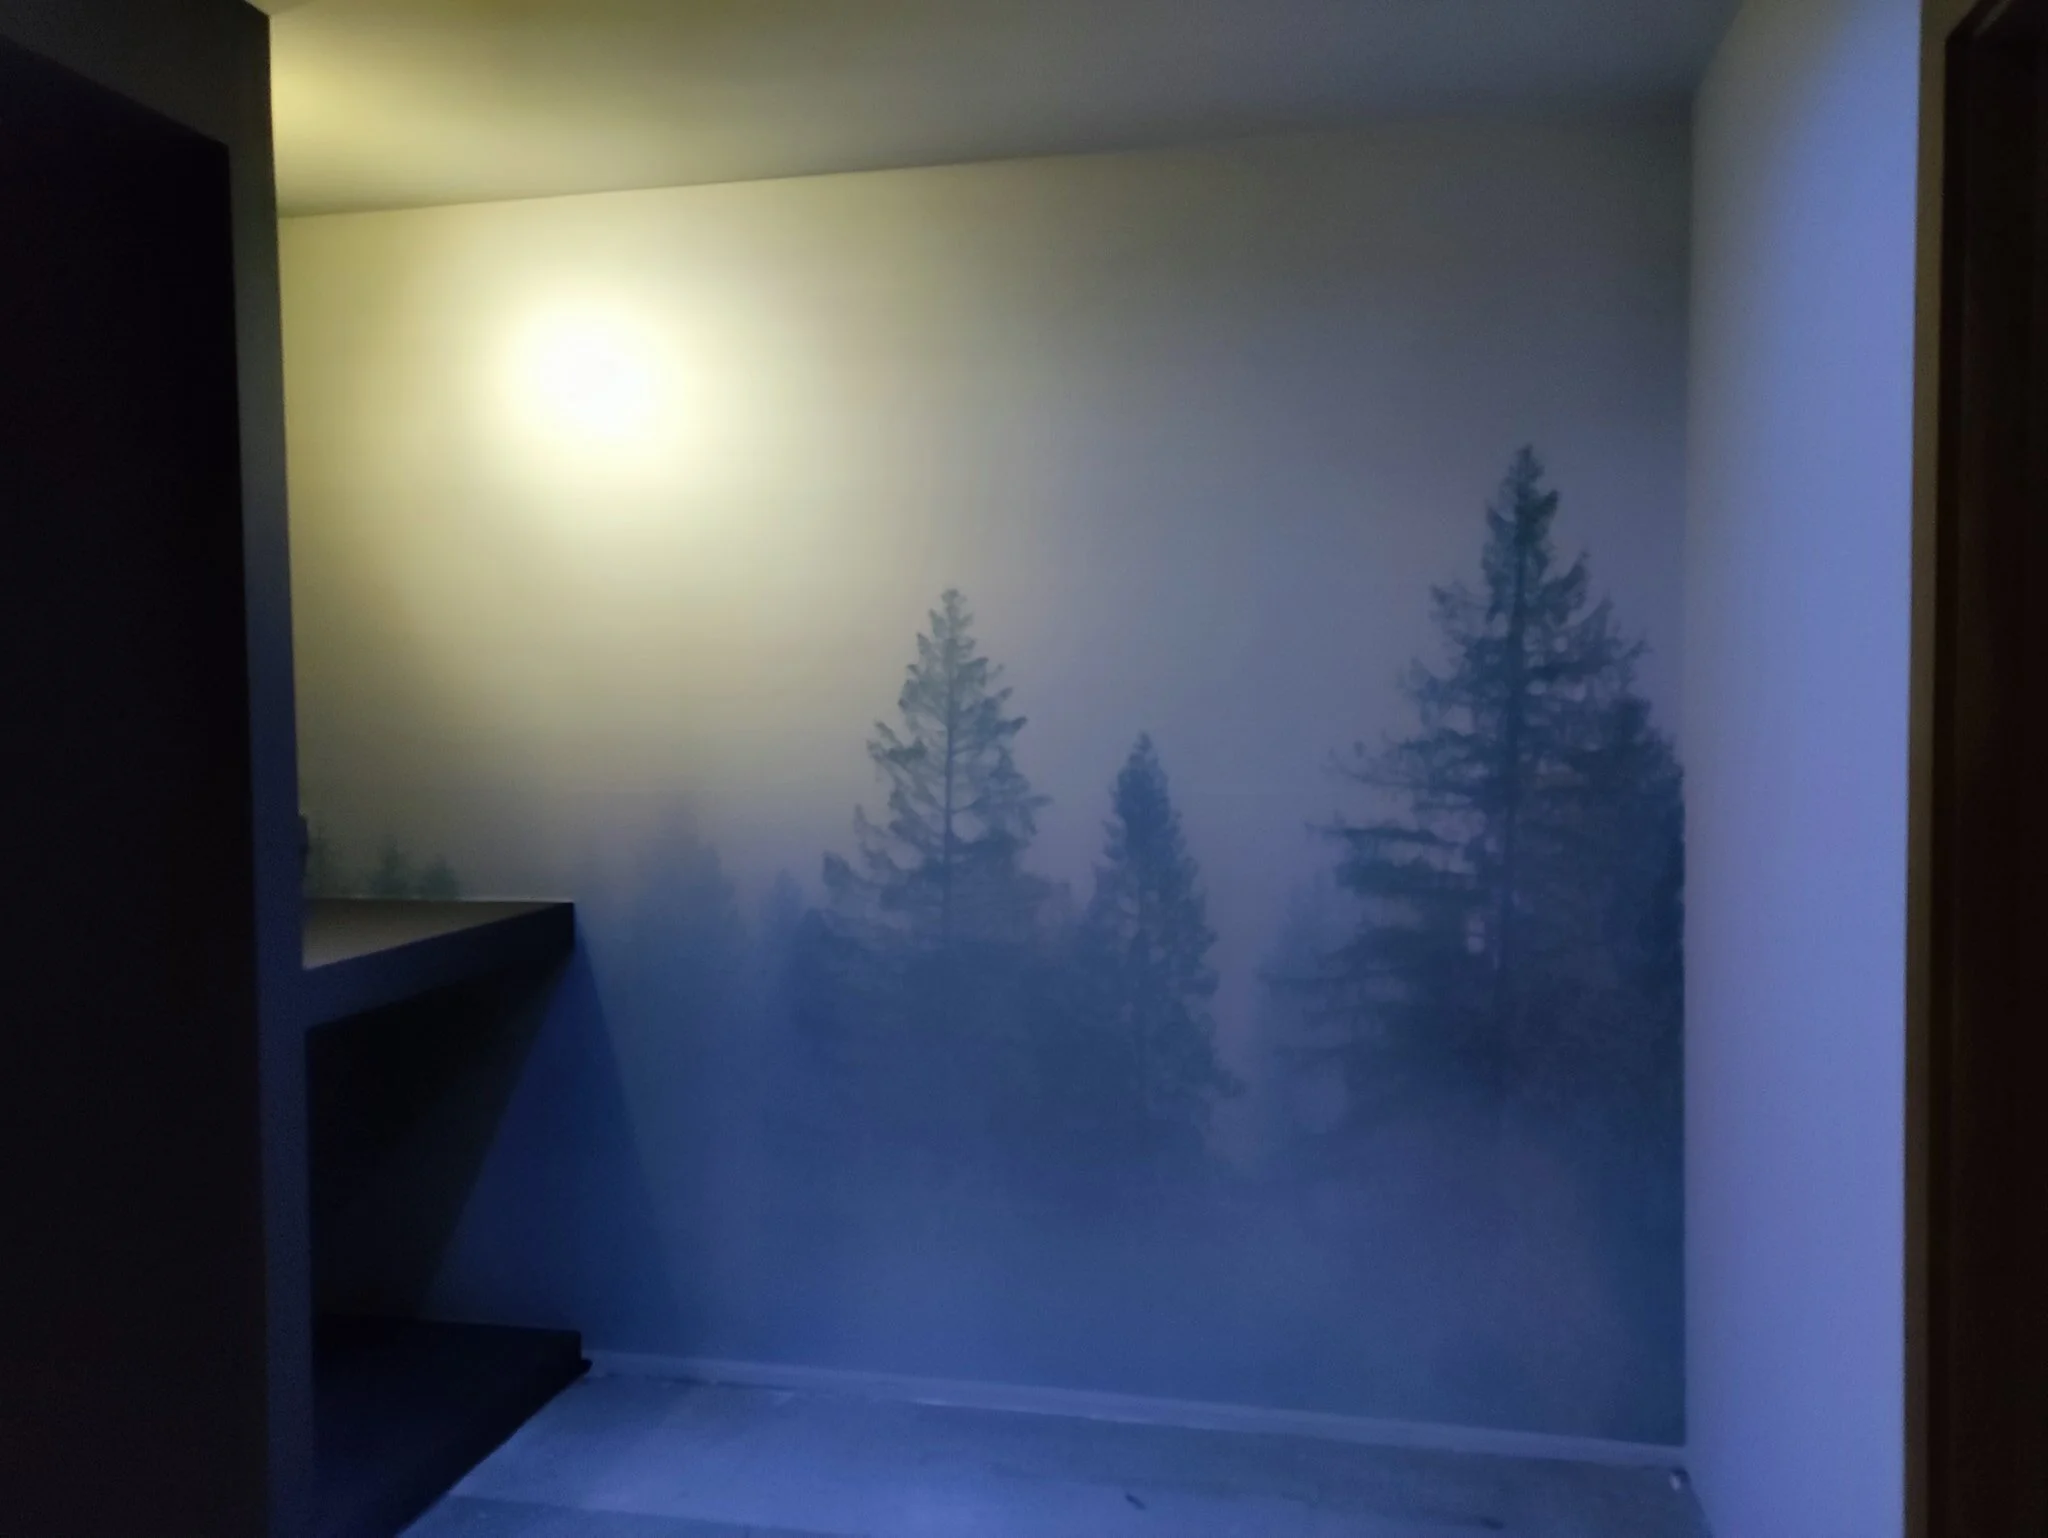
Mural Wall
To make the room more interesting, fun and interactive we wanted a mural wall behind the office seating area.
We chose a Scandinavian forest scene mural which came as one big roll of wallpaper.
The decorators cut off the lengths from the roll, lined it up and got it all papered up.
We’ve got some great ideas of how to use light on this feature which we explore next.


Mood Lighting
Below we show some of the subtle transitions of mood lighting the mural wall in our office. By using a mixture of colours and light intensity we can give a different feeling to our room.
A spotlight is bounced off the wall to simulate sun and moon light, we can change the effect by varying the brightness.
When we set the scene in a room this way we prime the audience to be more involved and invested in the story. Altering the atmosphere keys in those automatic primeval parts of our brains, pulling us into a more complete immersion in the story.
Imagine, for example, watching a Horror Film, like “An American Werewolf In London” with a simulated fog scene in the background of the room. “Stay Off The Moors” gives you an emotional chill up your spine as the brain takes in and processes the immediate ‘danger’ of your environment relative to the action on screen.
The result is a more engrossing, fun, experience. You can use mood lighting to tailor your room for different movie genres. Different lighting scenes for action, horror, sci-fi, romantic movies.
The emotional dividend is more remarkable, memorable experiences.
Cinema rooms aren't just about a huge screen and great sound.


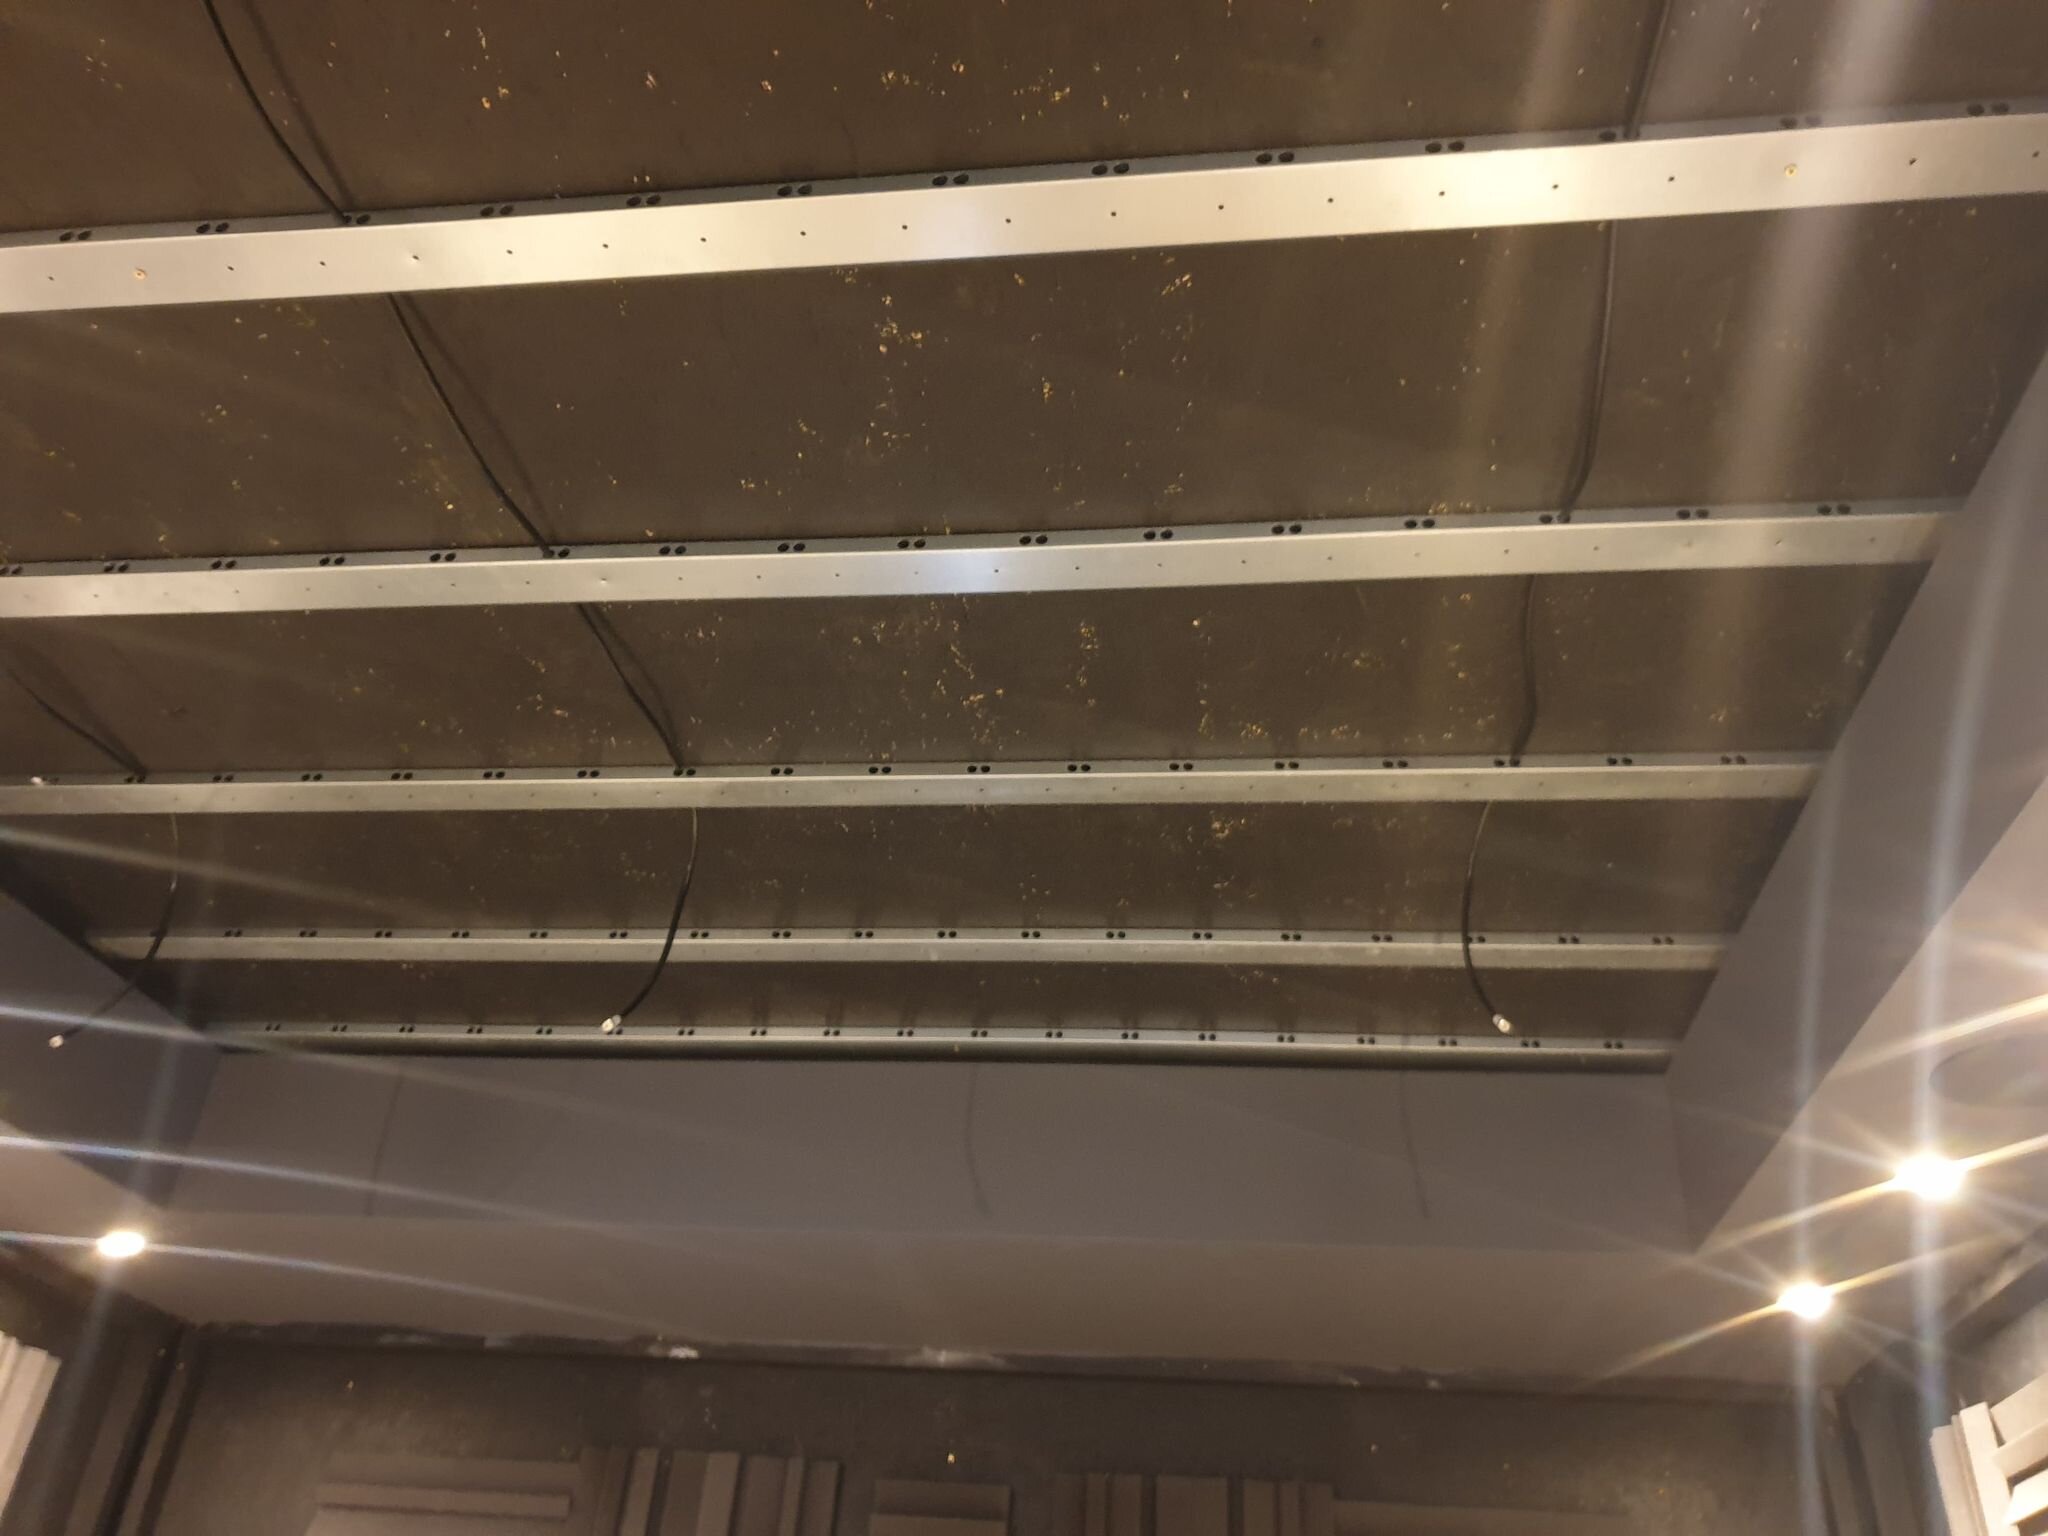
Starfield Ceiling Gets Mounted
The Starfield ceiling finally goes up, we’ve been waiting for the painting to be finished before we put up our Starscape ceiling.
We start by mounting the tracks for the velour panels, we have a 3x3m area that disappears beyond the bulkhead, this helps give the illusion of continuation rather than the stars stopping dead at the edge of the bulkhead. It’s the same design principle that’s used on infinity edge swimming pools.
Each velour panel is 1x1m and features around 100 stars. Each panel is fed by Fibre Optic Tails fed into a light engine. The tails are measured specifically to fit perfectly into the frame.
Mounting one panel at a time we fit them into position, they use magnets to secure firmly to the panel and that gives us a little wiggle room to move them into the best position.


Lifts the Ceiling
It's hard to photograph but the starfield ceiling looks breathtaking.
It gives a feeling of being directly under the night sky.
Helps to lifts the cinema space up and opens the whole room with a greater sense of spaciousness and adventure, we love it.


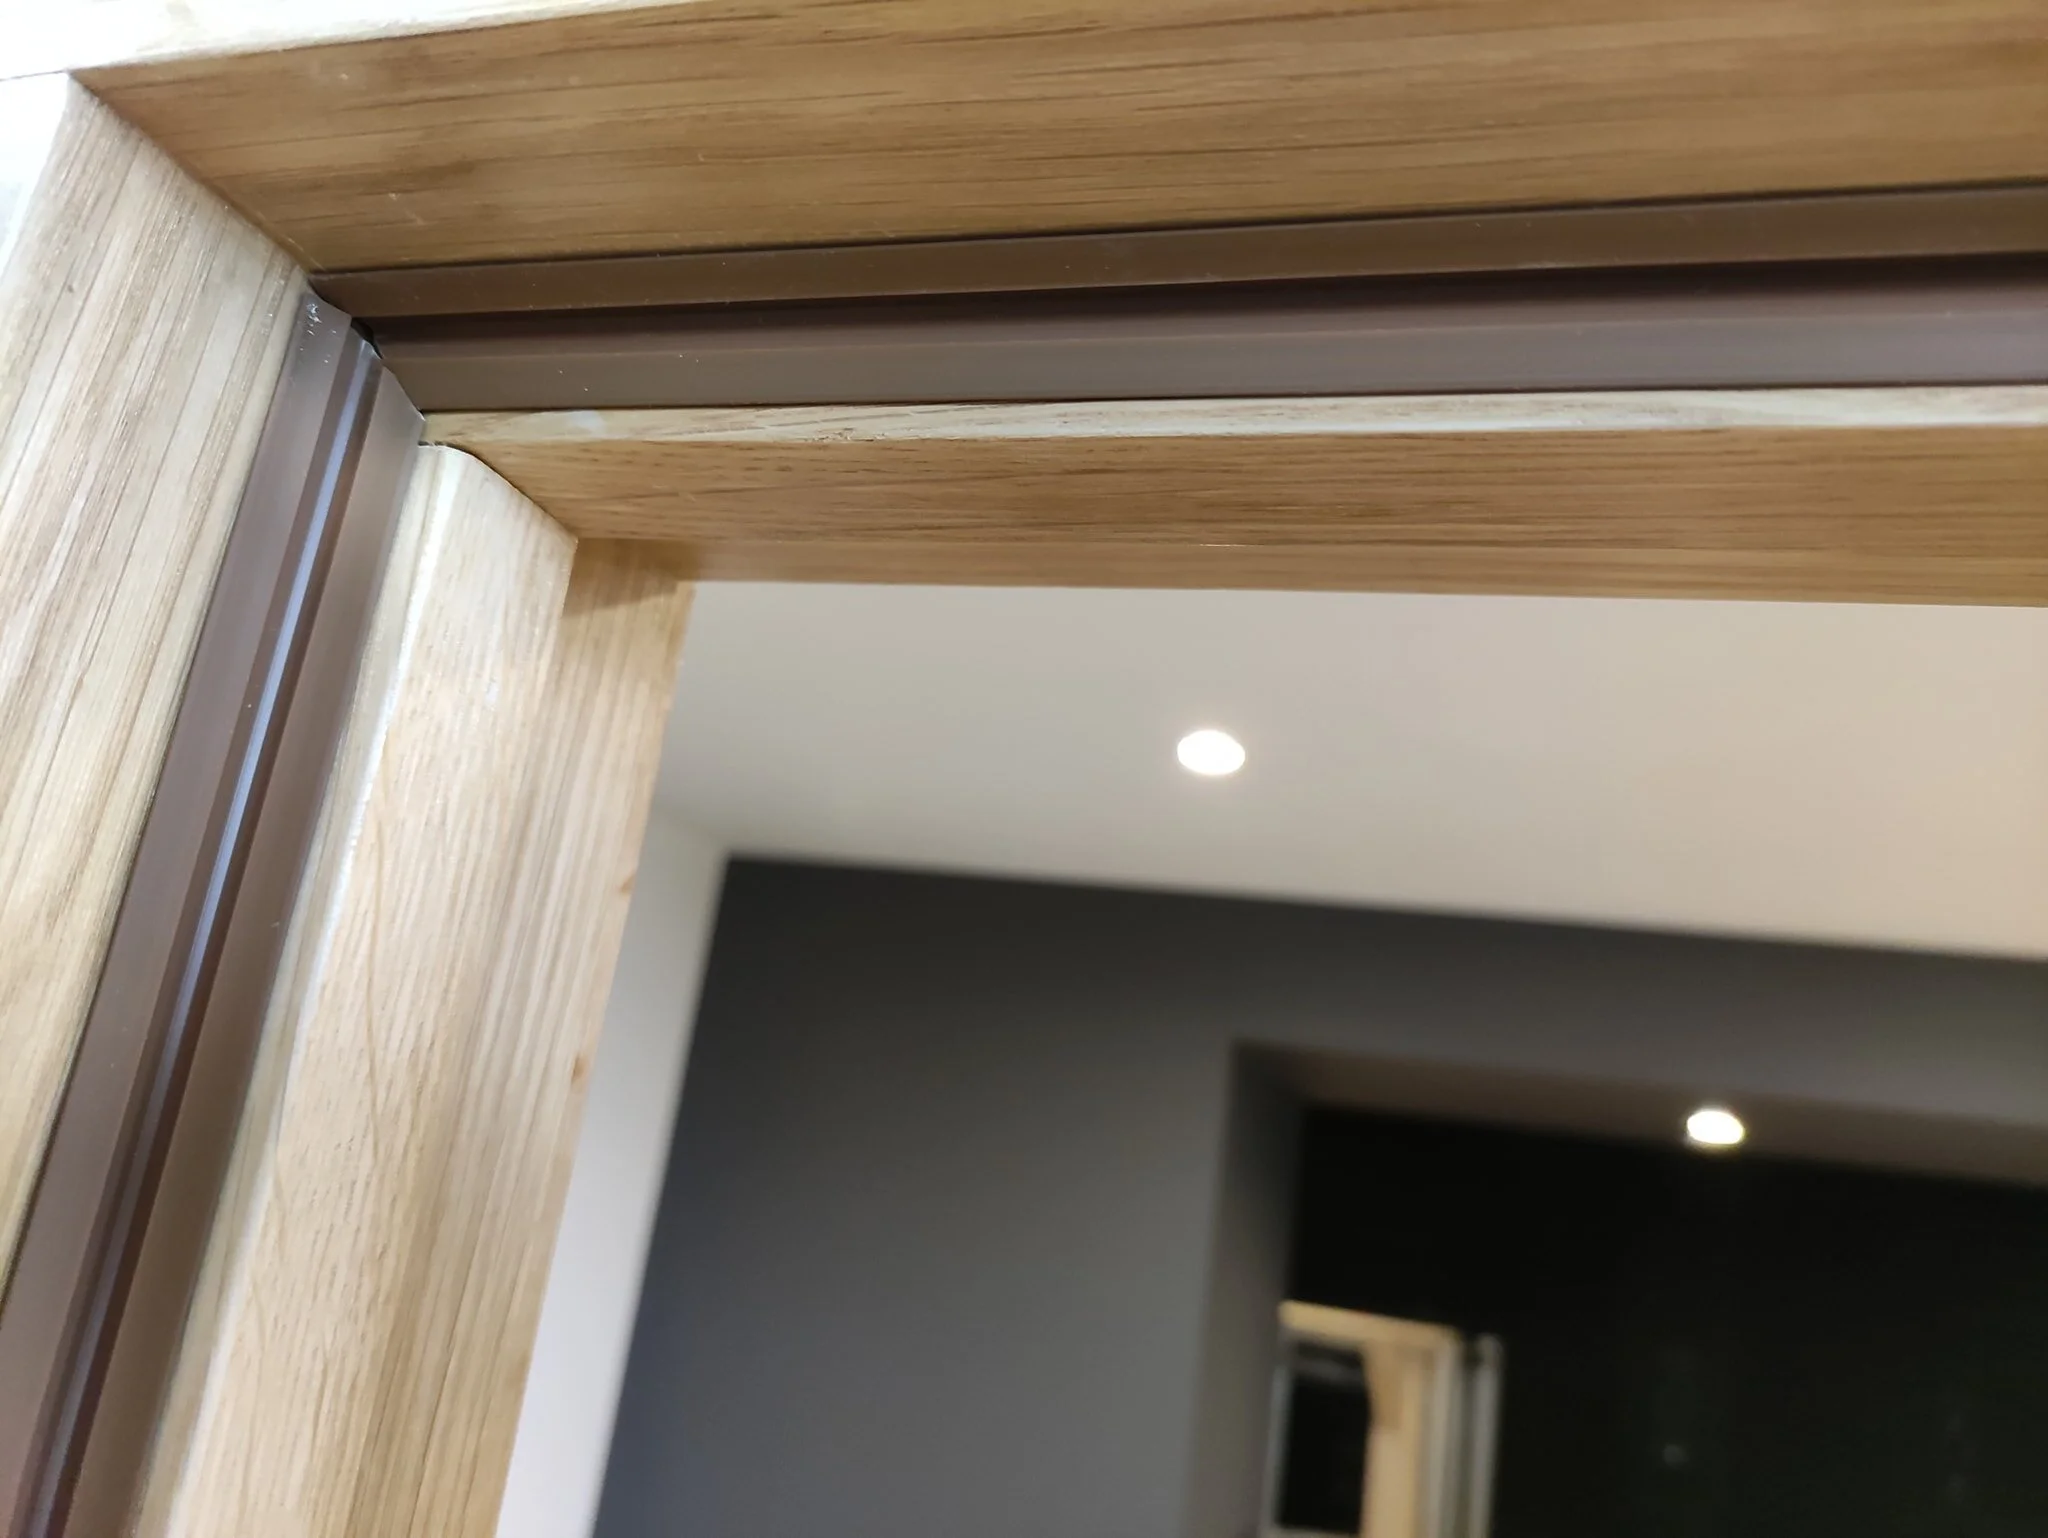
Batwings & Door Seals
To limit sound coming IN & OUT of the cinema room we fitted acoustic seals to the door.
Batwings are an L shaped seal that is attached to the surface of the door frame. The edge of the door meets the seal upon closure.
Gaps around the door are minimised and sound is kept out and in.
This helps give the cinema room a low ambient noise level. We can more clearly hear what's happening in films and is more immersive.